What are Microgreens?
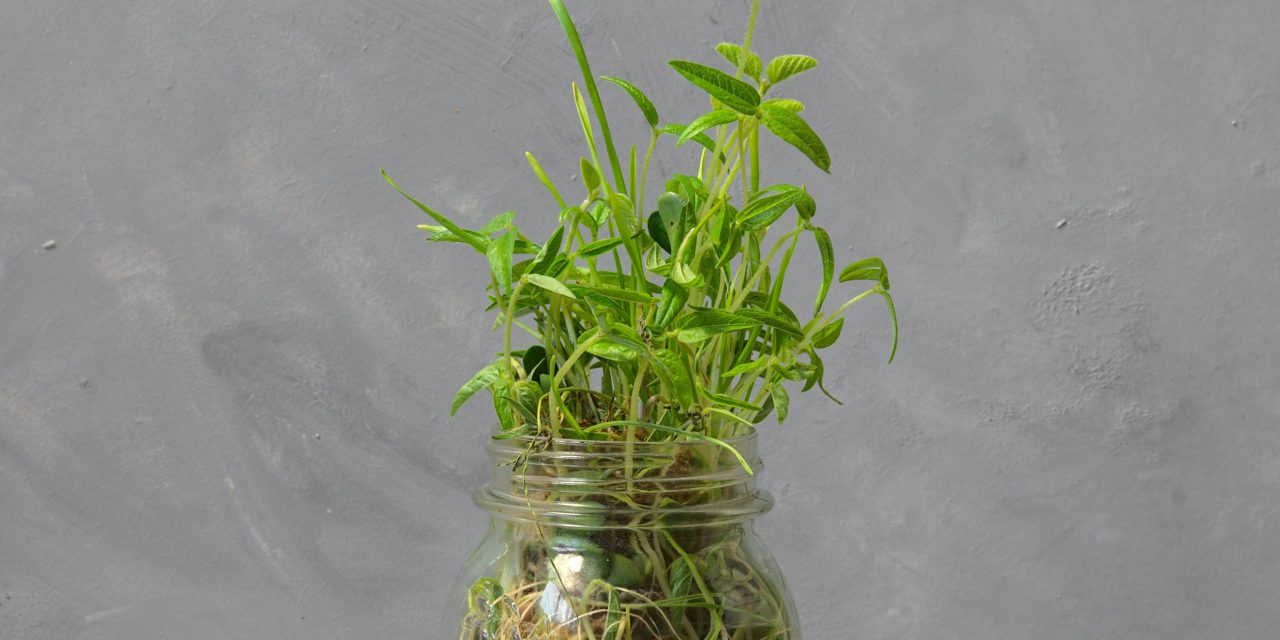
You may have heard of microgreens, which are tiny but mighty plants with a nutritional punch, but you are still wondering how to grow microgreens. One of the easiest ways to grow microgreens is in a jar, which is not only easy but also aesthetically pleasing. They are an excellent addition to any diet and can be grown indoors with ease, making them a convenient option for anyone looking to add some greenery to their home.
How to Grow Microgreens
To start, you will need a clean jar, such as a Mason jar, with a lid that has holes in it, potting soil, and microgreen seeds. You can purchase microgreen seeds from our website and get started today. Some popular options include radish, broccoli, alfalfa, and wheatgrass.  To prepare your jar, start by cleaning it thoroughly with soap and warm water. Rinse the jar well and allow it to dry completely. Once the jar is clean and dry, fill it with potting soil, leaving about 4 inches of space at the top. Next, sprinkle a dense layer of microgreen seeds on top of the soil, but not so many that the seeds are touching each other. Gently press the seeds into the soil, to ensure contact with the soil but are not buried too deep. Once the seeds are in place, cover the jar with a lid that has holes in it to allow for air circulation, which is crucial to the growth of your microgreens. If you do not have a lid with holes, you can create your own by using a hammer and nail to create holes in the lid. Place your jar in a warm, bright location, such as a windowsill. Make sure the jar is receiving enough light, as this will help your microgreens grow. You may need to rotate the jar occasionally to ensure all sides receive equal amounts of light. In a few days to a week depending on your chosen seeds, you should start to see your microgreens sprouting. Once they have sprouted, remove the lid and place the jar in a location that receives ample light. Continue to water your microgreens regularly, but be careful not to overwater them, as this can cause mold to grow.
How to Harvest Microgreens
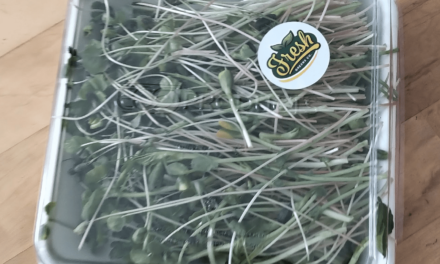
After two to three weeks, your microgreens should be ready to harvest and you can do so by gently pulling them out of the soil, or by cutting them with a pair of scissors. Rinse the microgreens under cold water, pat them dry, and enjoy them in salads, sandwiches, or as a garnish on your favorite dishes. By following these simple steps, you can have a steady supply of fresh microgreens throughout the year. Check out our article on how to store your microgreens properly or for innovative drinks, see what is being served at fablemelbourne.com.au.


